The 3G Pitch Guide: How to Treat and Clean Artificial Turf Burns Fast
Share
Turf burns on 3G pitches are not the same as grass burns. Synthetic surfaces embed rubber crumb and nylon fibres directly into the skin, turning a surface abrasion into a contaminated open wound. Get the treatment wrong in the first ten minutes and you are setting yourself up for a slow-healing wound or worse. Here is exactly what to do, from the moment you hit the deck to the end of the evening.
Why 3G and 4G Pitches Cause Worse Abrasions
Natural grass gives way. Synthetic turf does not. At pace, the surface acts more like coarse sandpaper than a playing field, and the rubber crumb infill - the black granules you find in your socks after every session - gets driven into the wound on impact. Nylon fibres from the pile can also break off and embed in the dermis. The result is a wound that looks superficial but contains foreign material and a significant bacterial load from whatever has been sitting in that infill across hundreds of previous sessions.
That rubber crumb infill is predominantly SBR - styrene-butadiene rubber - derived from recycled vehicle tyres. There is ongoing research into whether SBR crumb carries additional contamination risk beyond standard abrasion injury: recycled tyre material can contain heavy metals, polycyclic aromatic hydrocarbons, and other compounds from its original use. The research picture is not yet definitive, but the conservative position is straightforward. Irrigate thoroughly, remove all visible debris, and treat the wound as contaminated until clean. That is the right approach regardless of what the science eventually concludes about the crumb itself.
For backs and wingers in particular, diving for the ball at pace means forearms, knees, and hips take the brunt. These are also the areas hardest to keep clean between irrigation and dressing.
Immediate Treatment: The First Ten Minutes Matter
The goal at this stage is debris removal, not cosmetic care. Work through this in order:
- Irrigate with clean water first. Use a water bottle if that is all you have. Run water across the wound to flush out as much rubber crumb and loose fibre as possible. Do this for a full minute - longer than you think necessary.
- Remove visible debris. Use a clean cloth or gauze pad to gently lift out any remaining particles. Do not scrub - this drives debris deeper and damages tissue. Pat and lift.
- Clean the wound surface. Once debris is out, clean the surrounding skin. Use a proper cleansing solution that can ensure the wound is fully clean.·
- Cover properly. Dressing choice matters more than most players realise. Standard adhesive plasters stick directly to a weeping wound and tear away healing tissue when removed - avoid them on anything other than small, dry cuts. Non-stick wound pads (Melolin-type or equivalent) are the right call for most turf burns: they sit over the wound without bonding to it. For burns on high-friction areas - forearms and hips that will be re-abraded in subsequent sessions - consider a hydrocolloid dressing instead. Hydrocolloids create a moist healing environment, stay in place under light compression, and can withstand the rubbing of kit better than a standard non-stick pad. Secure with medical tape and change the dressing when it becomes saturated or at least daily.
Warning Signs: When to Stop Self-Managing
Most turf burns heal cleanly within a week if treated properly from the outset. The ones that do not are usually either inadequately irrigated in the first place or covered in a way that traps moisture and warmth - ideal conditions for bacterial growth.
See a GP if you notice any of the following in the 24-48 hours after the initial injury:
- Spreading redness beyond the wound margin (streaking is a red flag)
- Increasing warmth and swelling rather than decreasing
- Pus or cloudy discharge
- Fever or swollen lymph nodes near the injury site
- A wound that shows no sign of closing after five to seven days
As a size guide: any turf burn larger than a 50p coin that involves depth beyond the superficial dermis - meaning the wound base looks pale, fatty, or significantly different to the skin around it - warrants a GP or walk-in centre review rather than self-management. Burns on joint surfaces (elbows, knees) are particularly worth getting assessed, since movement inhibits wound closure and increases infection risk in those sites.
Synthetic pitches have a reputation for producing stubborn wound infections. That reputation is earned. If you are in any doubt, get it looked at. Read our post on staph, boils, and MRSA in rugby to understand what an escalating wound infection can look like.
Prevention: Reduce the Surface Area You Expose
The simplest prevention strategy is also the most obvious one: cover your skin. Compression arm sleeves, base layer shorts, and long-sleeve undershirts dramatically reduce the area of skin in contact with the pitch on impact. Modern compression fabric also reduces the friction coefficient at impact - the sleeve slides on the turf rather than your forearm.
This is not just for forwards. Wingers and backs are diving at full sprint velocity. The physics are unforgiving. A compression sleeve is cheaper and less painful than a week of daily dressing changes.
Kit Bag Protocol: Post-Training
Turf burns that are not sealed under a dressing at the end of training are open wounds in a changing room environment. Treat them before you shower.·Do not let a weeping turf burn sit untreated while you wait in a queue for the showers.
Also clean your kit bag itself. Rubber crumb gets into everything, and if it lands on kit worn against broken skin, you are re-contaminating a healing wound. See The Ultimate Rugby Kit Bag Hygiene Checklist for a full post-training routine.
Related Guides
- Staph, Boils, and MRSA in Rugby: What Players Need to Know
- Ringworm in Rugby: How It Spreads and How to Stop It
- The Ultimate Rugby Kit Bag Hygiene Checklist
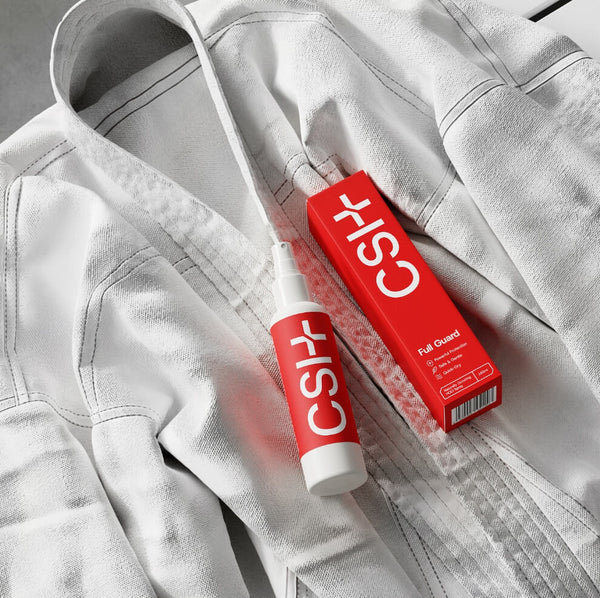
Full Guard is a cosmetic skin cleansing spray registered under the UK Cosmetic Proaducts Regulation. It is not intended to treat, cure, prevent or diagnose any skin condition. For any active skin concern, consult a GP, dermatologist or pharmacist.